3 Simple Steps to Use our Route Planner
Addresses
This is where you import a file with your addresses or type them into the address list.
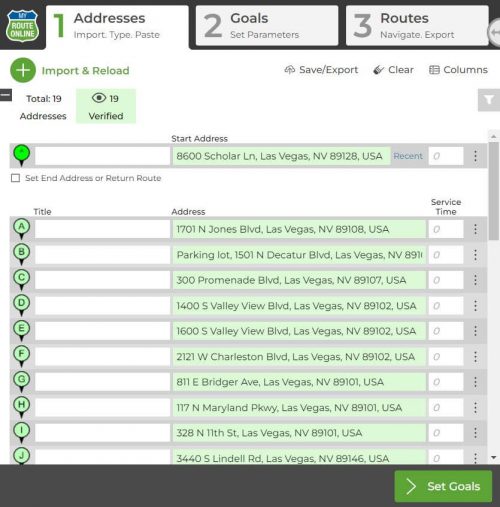
Addresses tab
Once you entered your addresses and made sure they were recognized properly, click Next and move to step 2.
Goals
This is where you set any parameters you need.
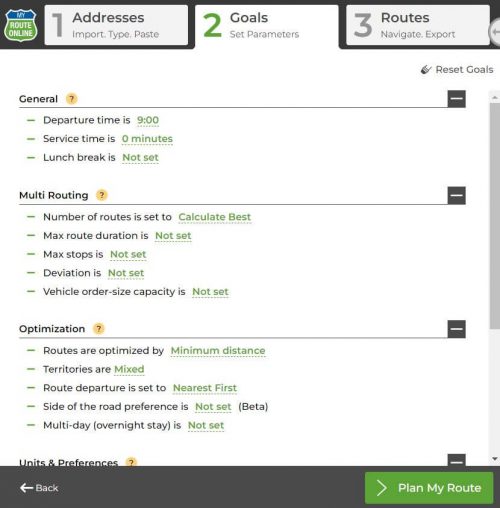
Goals tab
This is also where you plan multiple routes by setting the number of routes, the maximum duration of your route or number of stops in each route.
Once you entered the constraints you wish our route planner to follow, click Plan My Route and move to step 3.
Routes
This is where you review your planned route and get to use it in all kinds of ways.
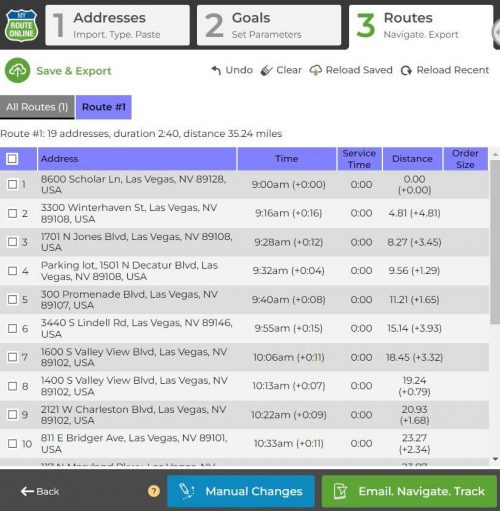
Route tab
When you review your route, you can modify it by going back to step 2, and setting different parameters or by manually moving addresses.
You can select the addresses you want to move or draw a polygon. around them and click Manual Changes to choose where these addresses should be moved to.
Plan Routes:
AI Route Planner with ChatGPT: Plan Multi-Stop Routes by Just Describing Them
How to View all Routes on the Same Map
How to Add a Lunch Break to your route
How to Plan Multiple Routes with our Route Creator
How to View all Territories on the Map
How to Plan Routes on Smartphone Mode
How to Plan Truck Routes
Daily Route Planner – Create Your Daily Routes Online
Set which Side of the Road your Route should Follow
How to Add More Columns to Addresses Tab
MyRoute App Settings
How Can you Change the Language on Google Maps
Create Routes with all the Addresses you Wish to Visit
How to Create Routes with Multiple Start Addresses
Multi Routing – Routing Notifications
How Do you Plan a Route with Route Planning Software?
How to Plan a Reverse Route
Google Maps Multi Route Planner
How to Plan a Route to National Parks
How to Plan a Multi Day Trip
3 Steps to Use our New Route Planner – User Guide
Start Planning Routes Online
Allow Mixed Territories, Pre-Defined Territories
Multi-Routes Planner – Create Several Routes at once
How to Create Territories when Planning a Route
Service Time, Route Planner, Route Optimization
What is Service Time in Route Optimization
How to Use the Route Planner – Step-by-Step Guide